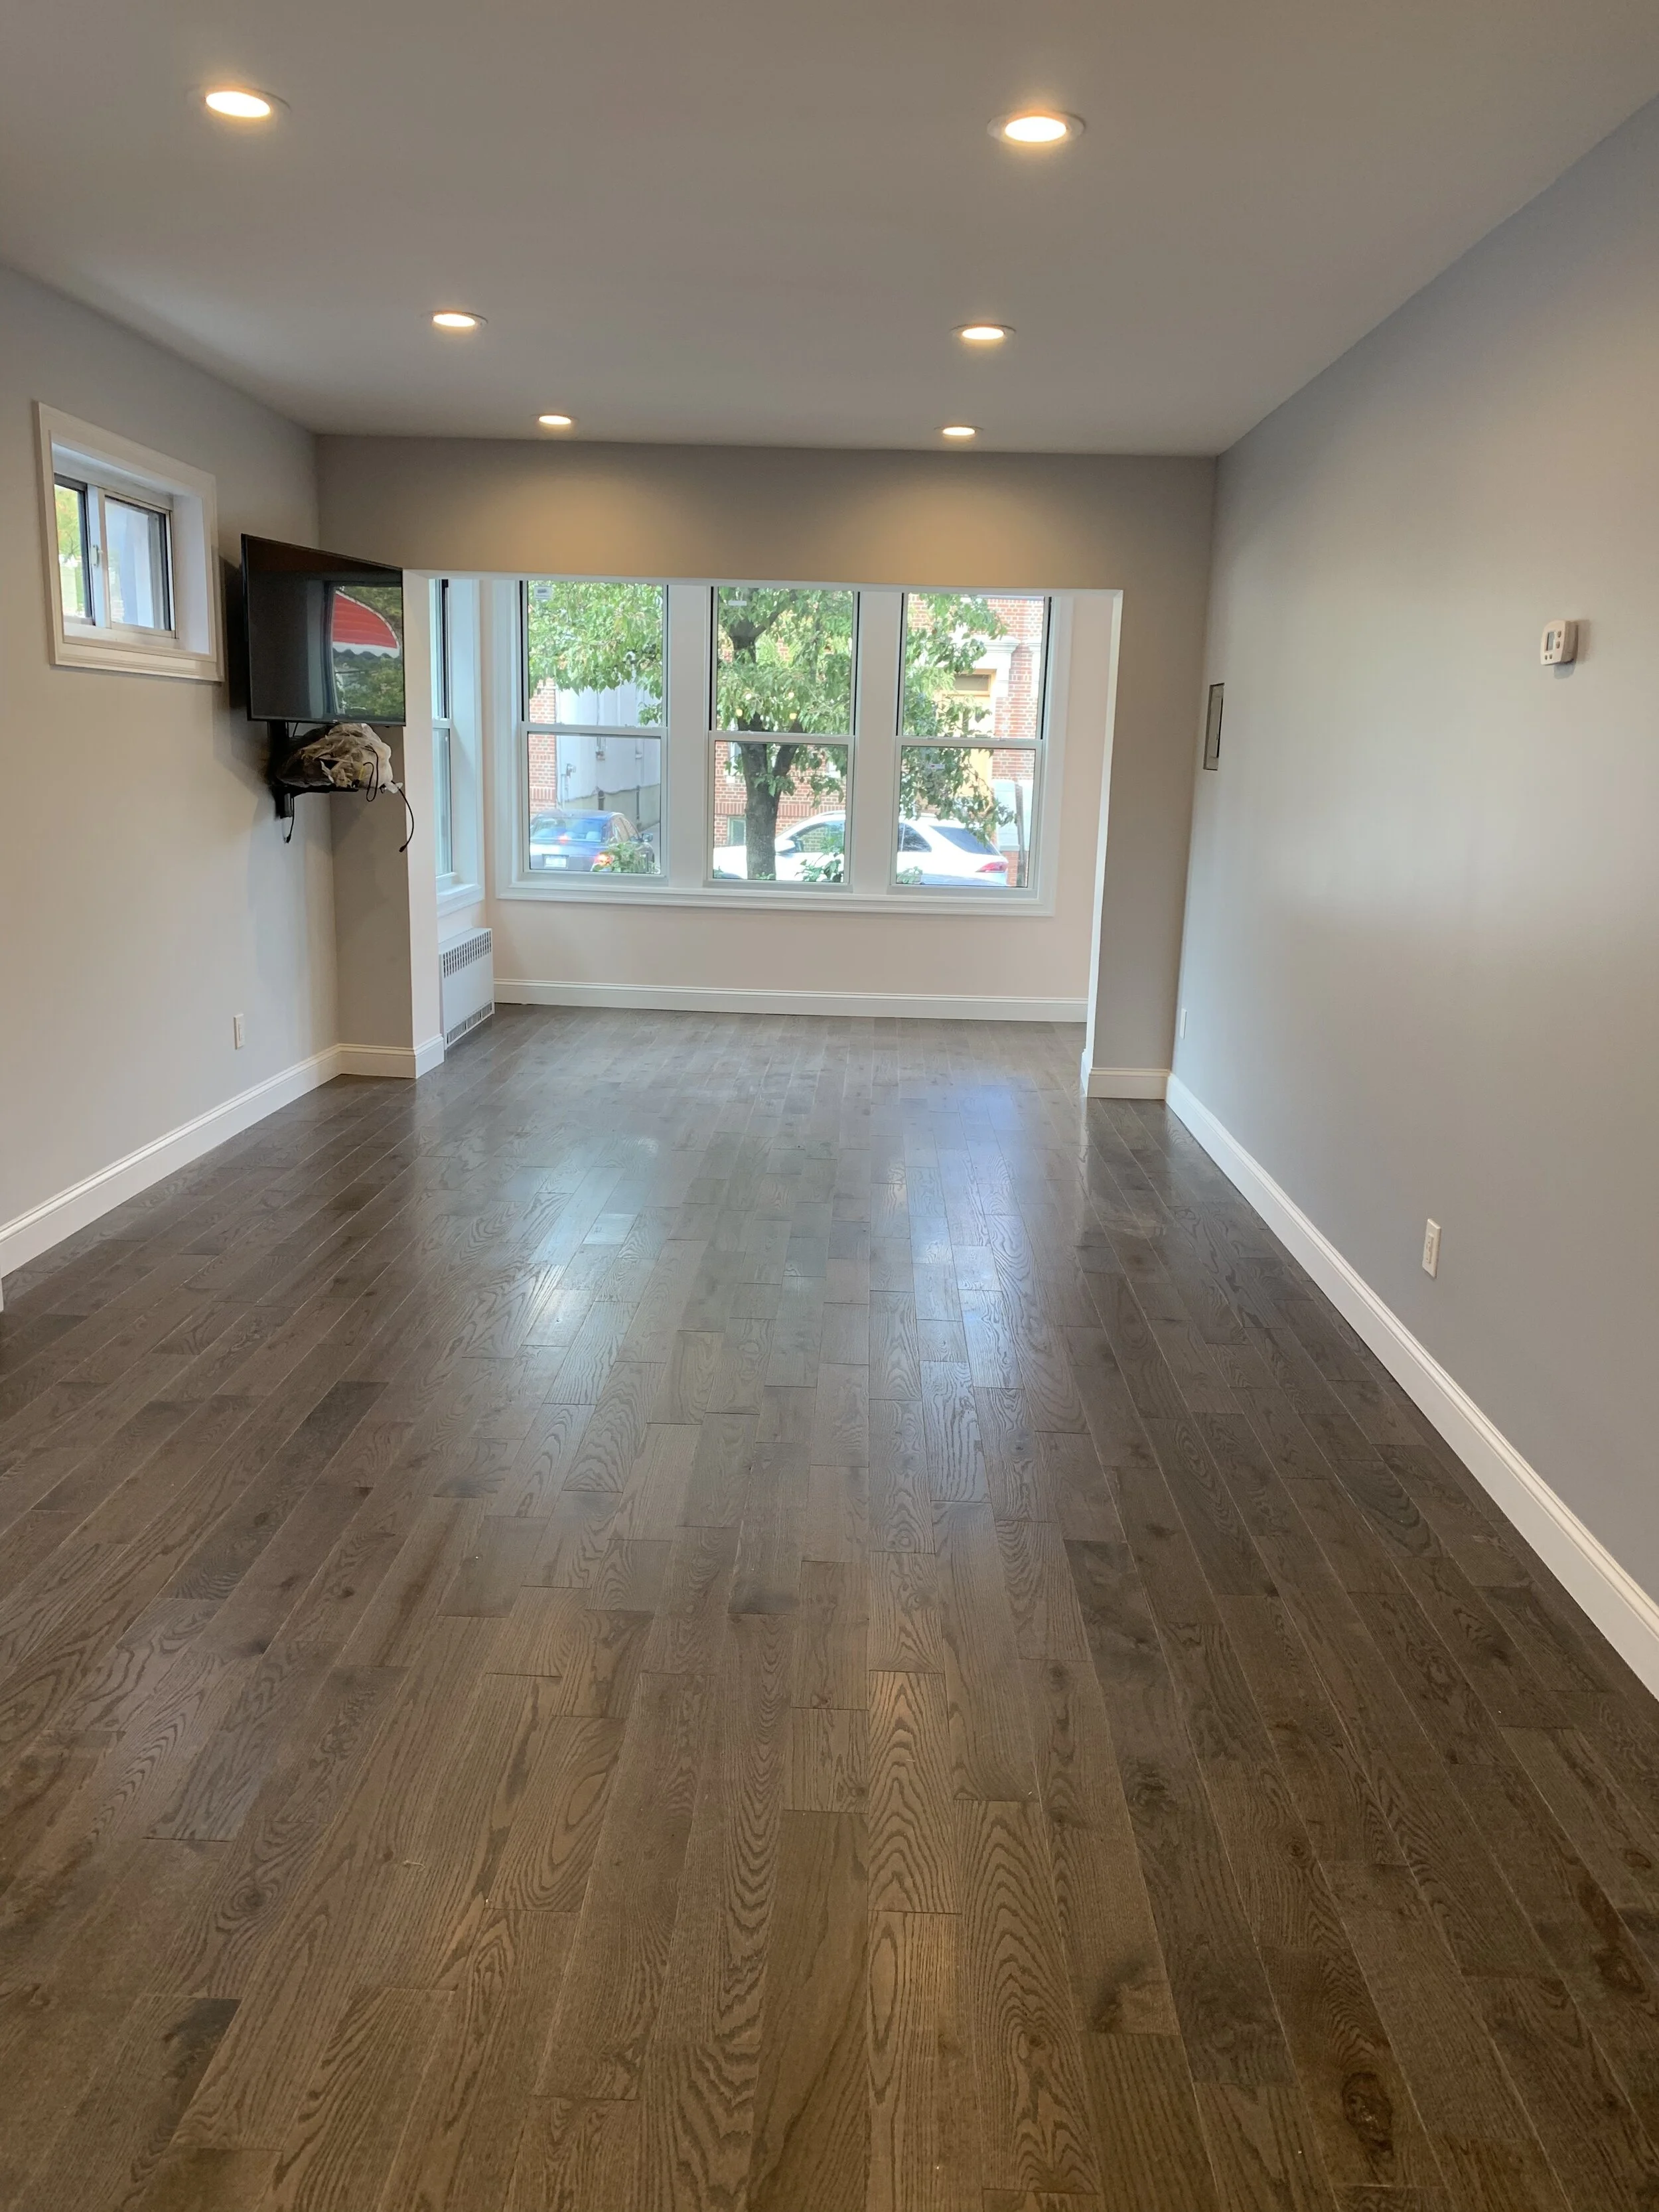
Floor Installations and Refinishing
Improve the look of your home with a beautiful floor!
When choosing to floor for your home you must take into consideration: cost, traffic, design, and location.
Which floor meets your needs?? We have compiled a list of the most popular floorings, the pro and cons, and a general idea of the installation process.
Hardwood – Hardwood flooring comes in Maple, Pecan, Beech, Cherry, Oak, Pine, Birch, Walnut, Hickory, and more. This type of flooring provides a long-lasting product, wear-resistant surface that could be refinished if necessary.
If you already have a wood floor, you might consider refinishing it. Refinishing can give your home a new fresh look. The process is as follows:
Sand Floor
Sand Edges of the floor with a hand sander
Vacuum floor
Fill holes and gouges with matching wood filler.
Vacuum floor
Fill holes and gouges with matching wood filler
Vacuum and damp mop
Stain if you want to change the floor color
Apply Sealer
Apply 2 coats of polyurethane
Laminate– One of the cheapest floorings… strong, durable surface but it can scratch easily and you can’t resurface this type of flooring. The installation process is as follows:
Acclimate the flooring. Flooring should sit in the room for at least 48 hours prior to installation. This prevents buckling and other problems after installation.
Remove existing baseboard molding.
Install the underlayment.
Plan the layout.
Cut the first row. Leave an expansion gap. Install the first row.
Install additional rows.
Install the last row. Be sure you leave a 1/4-inch expansion gap between the last row and the wall.
Cut around door casings.
Reinstall the trim.
Bamboo – durable, elegant and comes in a variety of colors usually ranging from honey brown to light tan. It provides a strong, clean surface, but could darken over time or when exposed to sunlight and should not be left wet.
The installation process is simple…
Nail Down batten board
Lay down the first row
Lay down the second row and vary the length of the first row boards
Install remaining floor and alternate plank length
Remove batten board
Install the last row and nail down with finishing nails
Use molding to cover nail heads.
Ceramic tiles – are the best for waterproofing but the drawback is grout lines. It may be difficult to keep clean. The installation process is as follows:
Prepare Surface
Begin Layout
Apply Adhesive
Cut Tile as Needed
Let Tile Set
Grout Joins
Marble – Most durable and easy to clean
The installation process is the same as ceramic tile installation


